
Properly crimping an RJ45 connector onto a Cat5e network cable is a crucial skill for anyone working with Ethernet cables. The integrity of your network depends heavily on the quality of the cable and connector connection. If you fail to crimp the cable correctly, you risk unreliable connectivity, signal loss, or network failures that can compromise your surveillance or data systems.
To crimp RJ45 connectors on Cat5e cable correctly, first strip about 1 inch of the outer jacket, untwist and align the wires in the proper T568B order. Insert them fully into the RJ45 connector, ensuring each wire reaches the end. Use a quality crimping tool to firmly press and secure the connector, ensuring reliable network performance.
In this blog, you will learn step-by-step how to cut and prepare the Cat5e Ethernet cable, attach the modular plug, and crimp RJ45 connectors correctly and reliably to maintain a strong network cable connection for your security and communication systems.
How to Prepare and Cut Cat5e Cable for RJ45 Crimping
Preparing the Cat5e network cable correctly is essential to ensure a reliable connection when attaching crimp RJ45 connectors. Proper preparation reduces the risk of connection issues and helps maintain network performance, especially for surveillance or data systems requiring consistent signal quality.
Step 1: Measure and Cut the Cat5e Network Cable
Begin by measuring the length of cable you need for your installation or patch. Use a sharp cable cutter to make a clean, straight cut on the Cat5e network cable. Avoid crushing or deforming the cable during this process, as this can affect signal integrity. A precise cut provides a clean end that makes it easier to insert the wires into the RJ45 modular plug.
Step 2: Strip the Outer Jacket
After cutting, carefully strip approximately one inch of the outer jacket from the cable end using a cable stripper tool. This exposes the twisted wire pairs inside without damaging the delicate copper wires. Take care to remove only the jacket and not to nick the wires themselves.
Step 3: Untwist and Arrange the Wires
Once the jacket is removed, untwist the individual wire pairs and arrange them in the correct wiring order required for your network standard (typically T568A or T568B). This step is crucial before inserting the wires into the RJ-45 connector. Straightening the wires properly will make it easier to insert the connector and ensure a proper fit.
Step 4: Insert the Connector and Prepare for Crimping
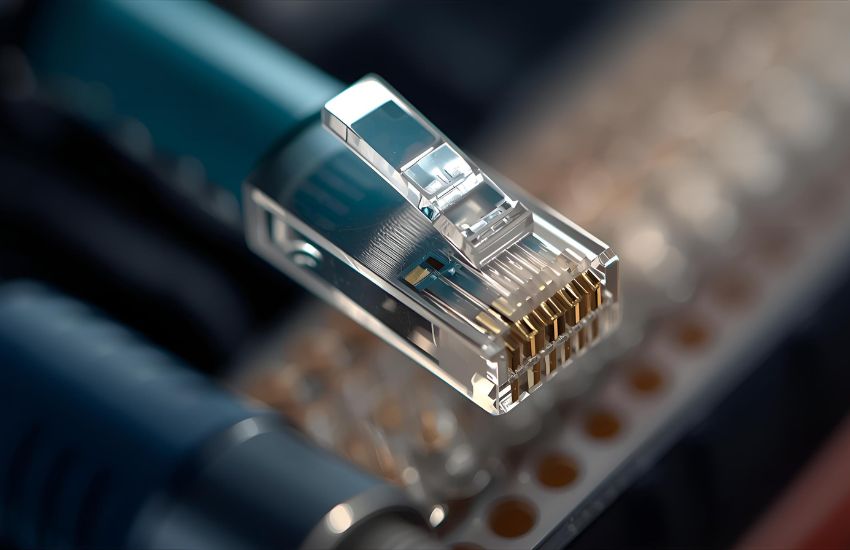
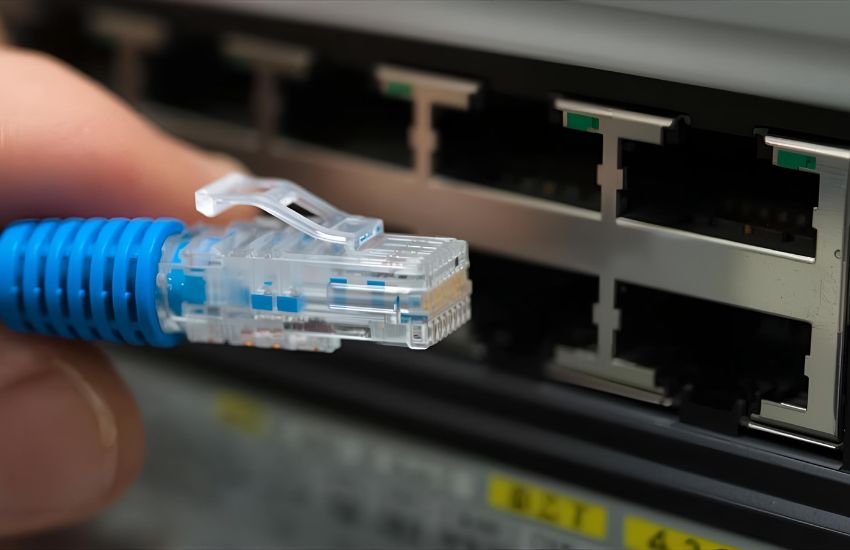
Insert the arranged wires fully into the RJ45 modular plug, ensuring each wire reaches the end of the connector and aligns with its respective pin. Check that the outer jacket of the Cat5e cable extends slightly into the connector to provide strain relief. Once you confirm the wires are correctly positioned and the connector is securely attached to the cable, you are ready to crimp RJ45 connectors using a crimp tool.
Following these steps will help you create a strong and reliable RJ45 cable connection, suitable for Cat5e network cable installations and compatible with other cable types like Cat6 or Cat6a when prepared similarly.
See more about...Construction Site Security Camera Person Detection Alarm
Tips for Properly Crimping RJ45 Modular Plug on Ethernet Cable
Properly crimping an RJ45 modular plug onto an Ethernet cable is vital for establishing a strong and reliable network connection. To begin, ensure that the cable end is carefully stripped to expose the individual wire pairs without damaging them. You must cut the wires to the correct length so they fit neatly into the modular plug, allowing each wire to fully insert into its corresponding 8P8C pin slot. Maintaining the proper twist in each pair until the very end helps minimize data interference and ensures signal integrity.
When preparing the cable for crimping, carefully align the wires according to the appropriate standard wiring scheme before insertion. The modular plug must accommodate both solid and stranded cables, so verify that your plug is compatible with your cable type—Cat6 plugs often differ slightly from those used for Cat5e. As you insert the wires, make sure the cable jacket extends just enough into the plug to provide strain relief without obstructing the pins.
During the crimping process, apply firm, even pressure with a quality crimp tool to secure the plug’s pins onto each wire, creating a dependable electrical connection. Avoid cutting too much of the cable end or stripping too far back, as this can weaken the connection and lead to network issues. Following these tips will ensure your cable crimping produces consistent, high-quality connections that support efficient data transmission across your network.
See more about...Port Forwarding and Remote Access Setup Guide for IP Cameras
Conclusion
Ensuring you properly prepare and crimp your Cat5e RJ45 cable is essential for creating a reliable network connection. Whether you are working with patch cables or more advanced types like Cat6a or Cat6 shielded cables, the key is to insert the connector correctly and secure it firmly. Properly positioning the wires inside the modular plug and using the correct crimping technique will support efficient data transmission and help prevent connection failures. By following the right steps and handling the cable with care, you guarantee a secure and stable connection that reliably supports your network needs. Always make sure to insert the connector fully and crimp it properly to achieve the best results and maintain consistent performance across your network setup.
See more about…Tesla API Security Alarm System with Raspberry Pi
Frequently Asked Questions (How to Crimp RJ45 Connectors on Cat5e Network Cable Correctly and Reliably)
How to crimp Cat5e cable?
To crimp a Cat5e cable, strip about 1 inch of the outer jacket, untwist and align the wires in the T568A or T568B color order. Trim the wires evenly, insert them into the RJ45 connector, and ensure each wire reaches the end. Finally, place the connector into a crimping tool and press firmly to secure.
How to crimp RJ45 correctly?
To crimp an RJ45 connector correctly, strip about 1 inch of the cable jacket, untwist and arrange the wires in the T568A or T568B order. Trim them evenly, then insert the wires into the RJ45 connector. Place the connector into the crimping tool and press firmly to secure the pins and cable.
What is the maximum length of RJ45 Cat5e cable?
The maximum length of an RJ45 Cat5e cable is 100 meters (328 feet) for reliable network performance. This includes 90 meters of solid cable for permanent installation and 10 meters of stranded patch cords. Exceeding this length may result in signal loss, reduced speed, or connection instability in Ethernet networks.
How to do crimping step by step?
To crimp a cable, first strip about 1 inch of the outer jacket using a wire stripper. Untwist and arrange the wires according to the T568A or T568B color code. Trim them evenly, then insert the wires into the RJ45 connector. Place the connector in a crimping tool, squeeze firmly, and test the connection.